

- How to Find The Best Tie Up Curtain Ideas: Buying Guide - October 6, 2021
- The Best Funky Turquoise Curtain Ideas - October 6, 2021
- How to Shorten Cordless Mini Blinds - October 6, 2021
Vertical Blinds are a common sight in homes, offices, and public buildings. The most popular blinds are made of vinyl or fabric stretched over a metal frame to form slats that can be opened or closed to control the amount of light coming inside.
These blinds come with many benefits, including an economical way to reduce heat loss through windows during winter months because they provide insulation from radiant energy transfer. But don’t let this fool you because the vertical blind repair is an inevitable part of owning them.
This Vertical Blind Repair Guide will teach you how to repair your vertical blind so that it doesn’t have to cost you more money.
Tools That You Need To Repair Vertical Blinds
The following tools are essential when fixing vertical blinds:
- The flathead screwdriver
- needle-nose pliers to take off any pesky, stuck vane covers
- Vane savers for when they come undone.
Four Common Steps for Fixing Vertical Blinds
Follow the following four easy steps to fix your vertical blinds properly.
1. Look out for Any Common Problem
If your vertical blinds are not working correctly, don’t worry. You may have a slight problem like overlapping or backward-facing plats. The lubrication of their moving parts could also be an issue and need fixing too for them to work smoothly again.
Turn Over Backward or Overlapping Facing Panels
When a vane doesn’t open or close, it can be because the panels are facing in the wrong place or there is too much pressure on top for them to move.
Check every panel to make sure they’re facing forward and not backward. If there are overlapping panels, gently separate them with your hands so that the blinds don’t ride up on top of one another or get stuck together from friction while rotating.
Apply Lubricant
Friction between vertical blinds can make them not rotate. In case this is your scenario, a little lubrication does you more good than harm.
Apply an all-purpose grease or general use oil to any area where there’s space in between your stems and carrier rod as well as inside each slat when needed. Keep in mind it should be near its inner hinges. This can reduce how much force needs to be applied for opening/closing motions making it easier than before with quicker return time.
Remove Blockages
Look out for the little things that could stop your blinds from spinning. Inspecting them before you move on to other repairs is important because small and unnoticeable substances, like dust particles or pieces of material stuck in between carrier threads, will make moving impossible and cause more damage than good.
Important Consideration
You want your blinds to work for as long as the house’s lifespan, so they must close and open easily. We recommend using this portable hand vacuum with crevice tool attachment on all areas where dust can accumulate – from inside out.
Make sure you lube up both sides of each vane before vacuuming them because if not, then when we try closing our curtains later in life, there might be some resistance at first, but once these are done getting clean off, their hinges- everything will have been easy breezy again.
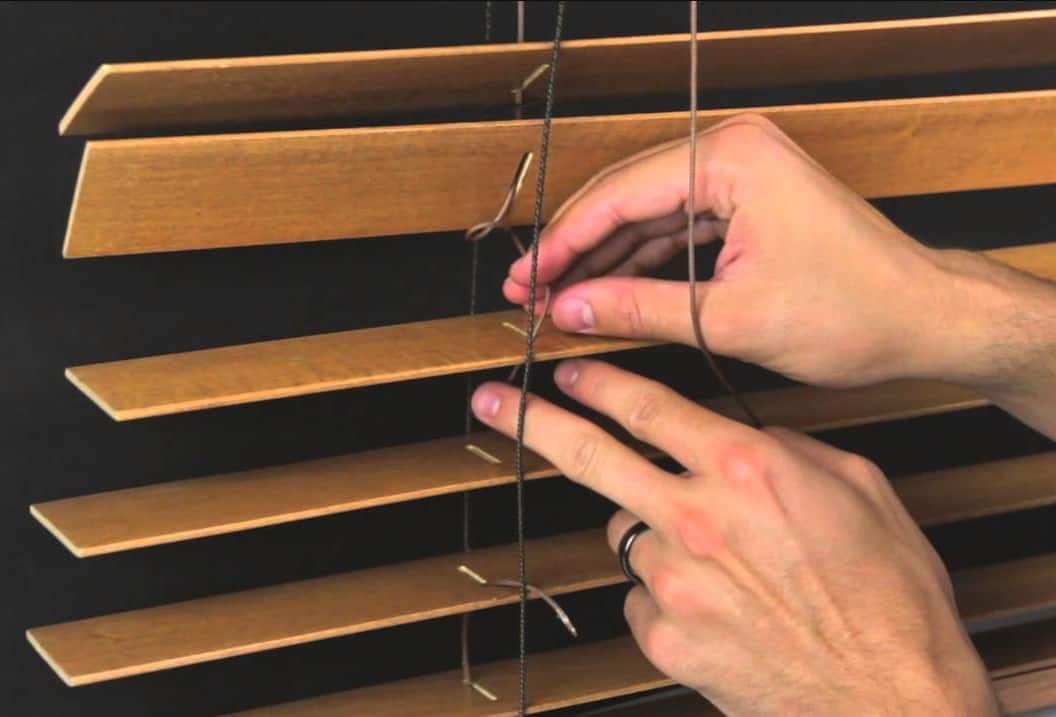
2. If Broken, Repair Using Vane Sarvers
Don’t worry if you’ve got an old set of vertical blinds and some broken panels. There is a solution for this that’ll save money in the long run. To fix it yourself, just use saver vane sarvers which attach to your existing cords so they can stay attached when only half their width remains unbroken on either side.
Consider using vane savers as they are a perfect solution for repairing holes in vertical blinds. They’re small tabs that attach with a single strong adhesive, making them ideal when fixing slats that are worn-out or jamb edges.
Metal spines are durable, but plastic vane savers can be used with ease, and they’re cheaper. If your blind has broken in two with wear-and-tear or is just old enough for replacement, then the best option will be using one of these nifty little devices.
The following steps can help repair a vertical blind using a vane sarver:
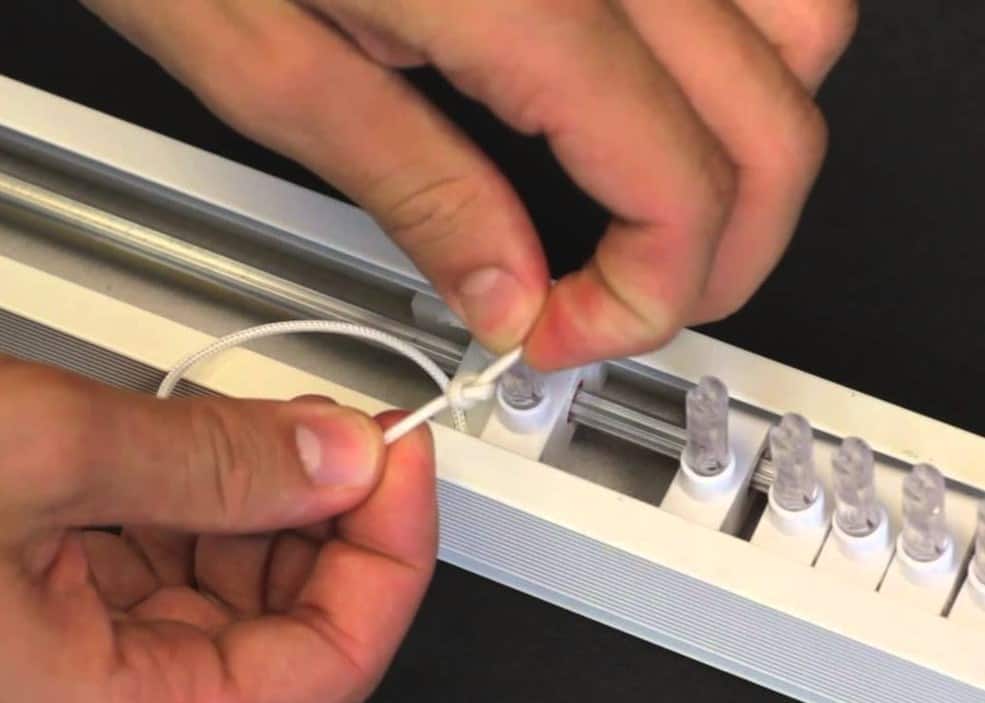
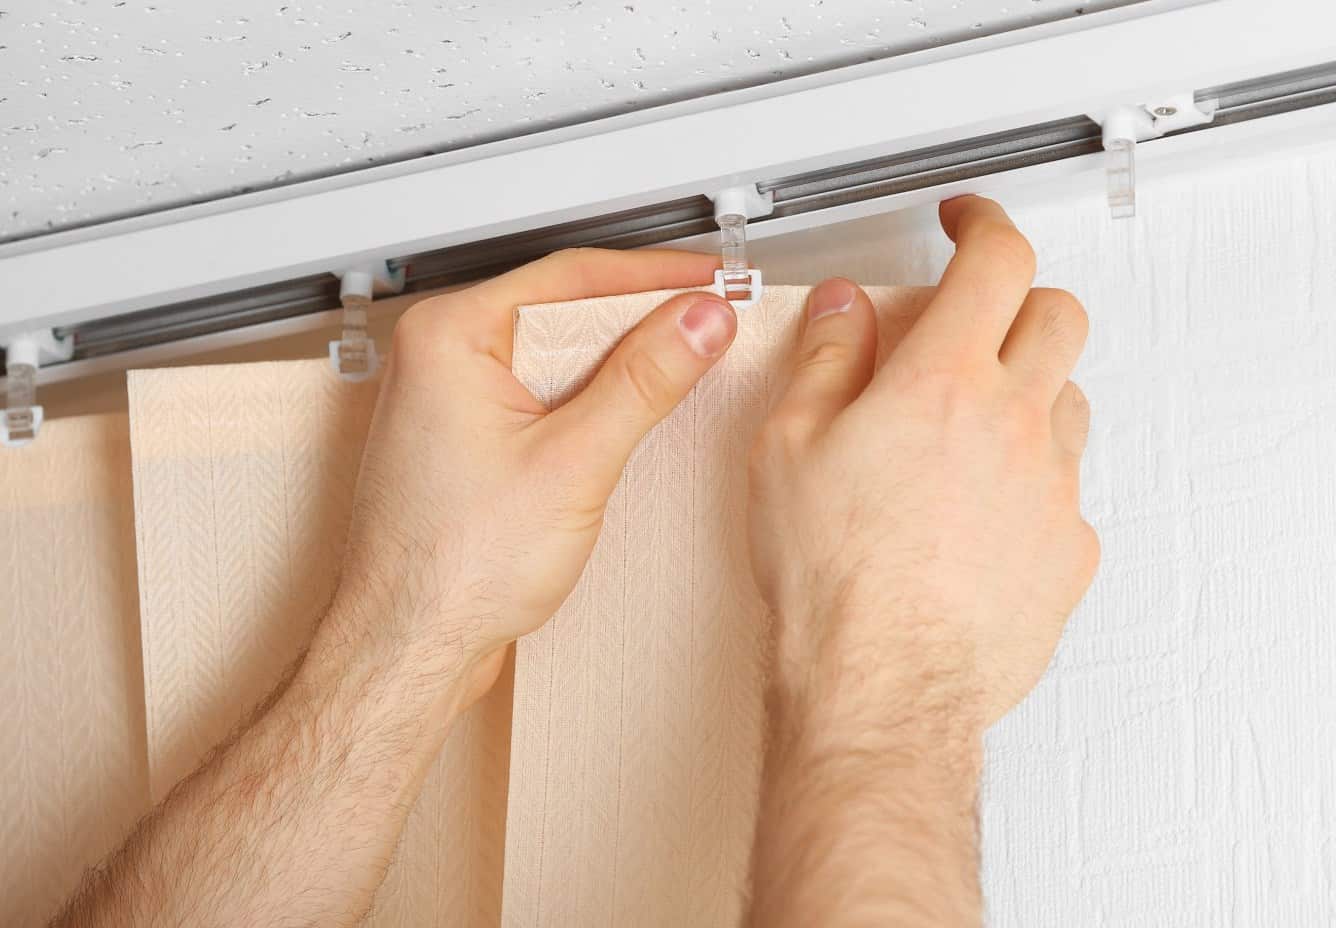
Remove the Chain Connecting the Blind
To remove a vertical blind, first unhook the plastic chain holding onto it. The hook at each end can be twisted apart to release and allow for removal of only one side before setting up another set in their place or using as temporary shades.
Remove the Vane Having a Problem
Carry the vertical blind and ensure it’s off the hook. If you find that your window is firm, use a flat object to help slide out any tabs on either side until they’re accessible enough for the removal of the vane from its hole.
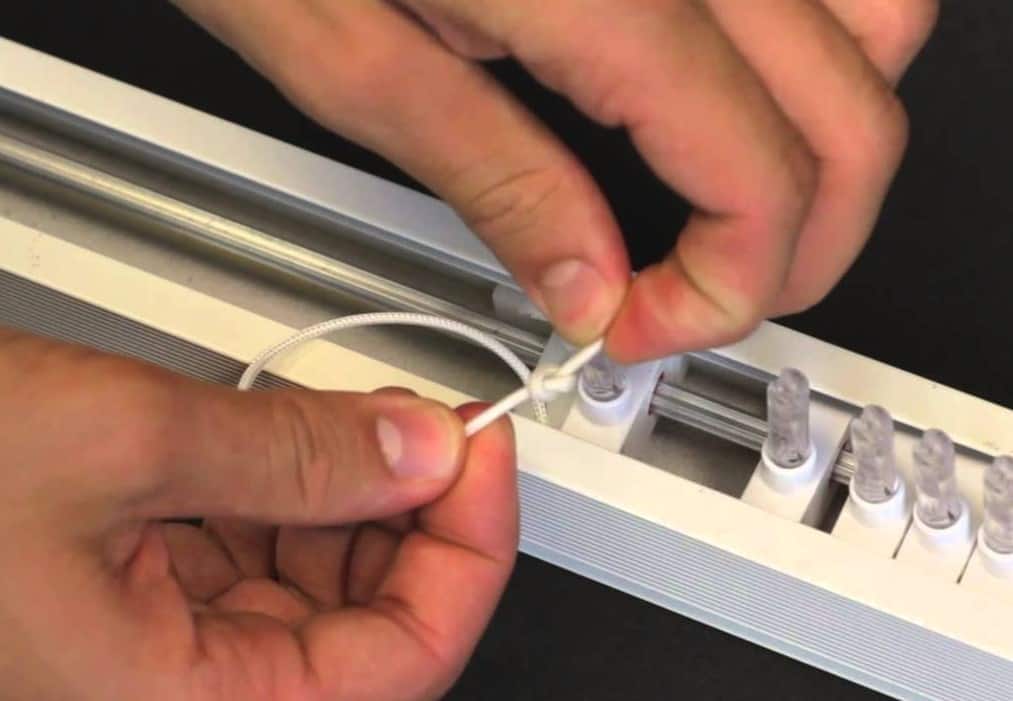
Make Your Vane Sarver
As soon as you remove the vane with a problem, slide on your new and improved accessory. It’s as easy to replace one hook with another–and that is precisely what you will be doing when installing this replacement for a broken or missing feather.
Important Consideration
It’s a good idea to check your vane before you fly, as tearing them can make for a bumpy flight. Just trim off any jagged edges with sharp scissors and slide on our nifty holder to fix this issue. You might also want to escalate the length by ½ inch or more to depend on how long you are currently measuring– it won’t take much effort at all.
3. Time to Repair Your Crooked Vanes
You twist your blinds into shapes no one should be able to fit in, but there’s nothing worse than finding out afterward – as soon as they’ve been used enough times-that this isn’t normal. Crooked vanes can cause issues with closing properly, so do whatever needs to be done now before it’s too late.
To return the vane to its original place, firmly hold onto its stem firmly. From there, you can spin this metal thing until everything is just right.
The old saying is true: garbage in equals garbage out. If your vane won’t go back to its place, then there’s probably something wrong with one of the gears that hold it up. To realign them, just unhook and turn clockwise or anticlockwise as needed until they become loose enough for you to hook again without friction, which means this fix worked.
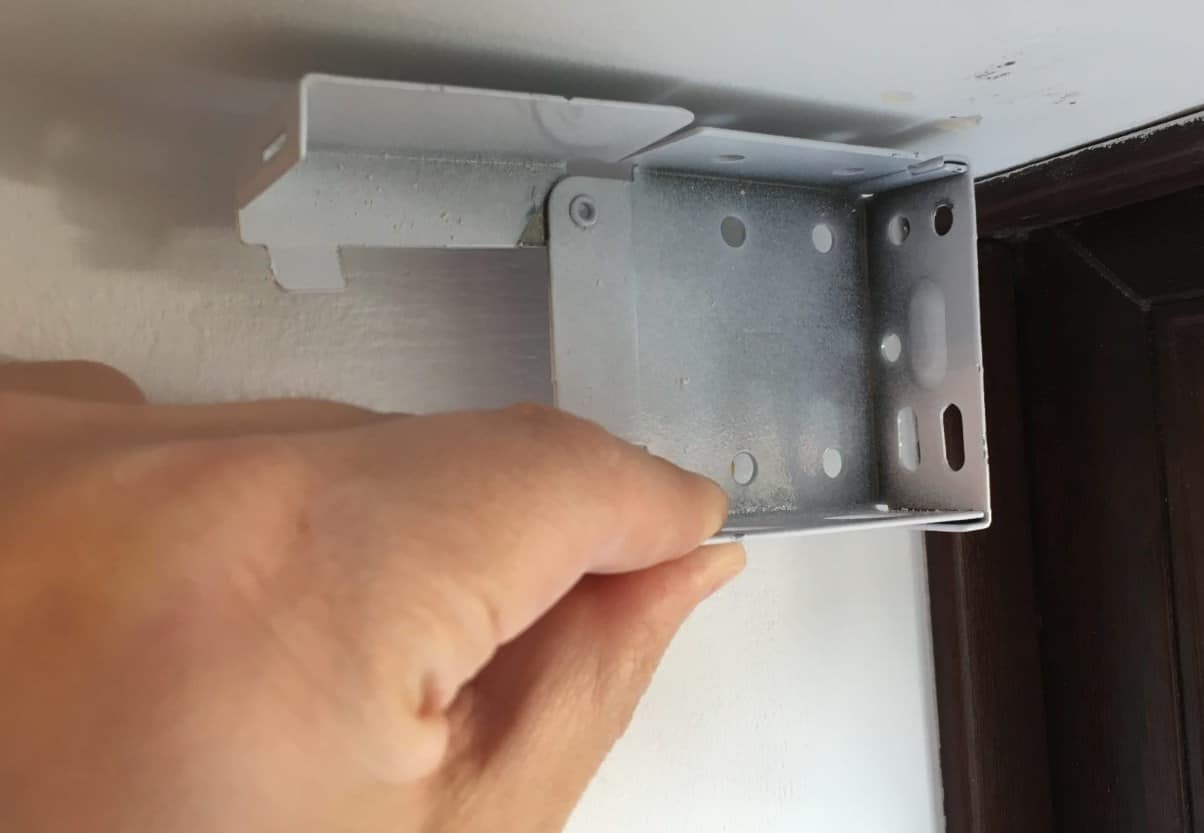
4. Inspect If the Stem Carrier is Faulty and Replace
The stems that connect the vanes to the central rod where they hang are called carriers. If one of these is broken, it can jam your entire blinds system. Fortunately, though- stem replacement isn’t as complex or expensive as other parts like motors and corners.
Follow the following simple steps to replace your faulty stem:
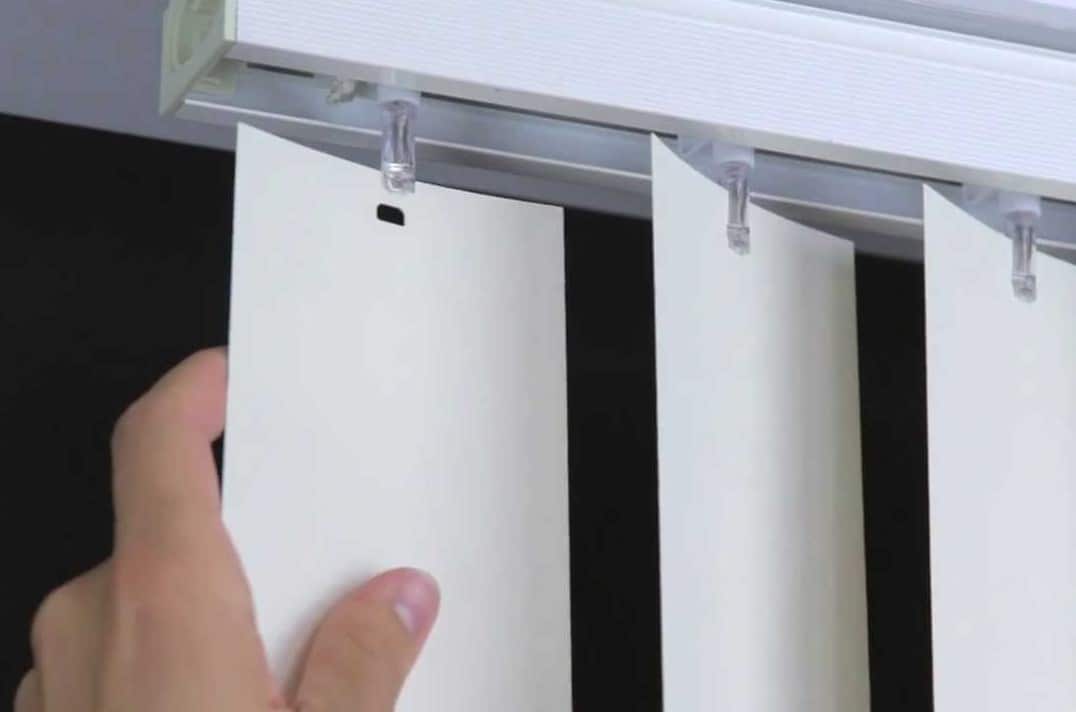
Start By Opening the Blinds
After a long winter, you can finally enjoy the sun and warmth with our vertical blinds that are quick to install and unhook your new shades from their faulty stems. Open up those windows, then remove any defective ones without issue.
Remove the Stem
Grabbing the stem with your fingers, gently press it to one side and pull out. Firmly grasp both ends of this vessel to detach from its housing but be careful so as not to break off any pieces or damage anything else along the way.
Remove the Gear
Now that the stem is removed use needle head pliers and a flathead screwdriver to remove gear from the c-shaped carrier.
Purchase a New Gear System and Stem
The best way to buy a gear system and a stem is from your nearby local store. Make sure that you bring the primeval stem and purchase an identical replacement; otherwise, it will not fit snugly into place on either side of the carrier bar. The gears should be chosen with care, though; if they’re too big, then there’s no point in trying them at all.
Replace the Gear System and Stem
Replace the gear and then press it into place. Ensure that you have installed a replacement stem in the exactly like-the same as all of your other ones so that they can mesh together seamlessly. The new piece will slide right on top without any trouble when these instructions are followed precisely.
Inspect to See if the Stem is Functional
To fix a broken blind, start by pulling on the threads. This will cause both sides of your new and old stalk to move up or down for you to see if it’s working correctly without any problems. Suppose everything looks good, then carefully unhooking one end from its hook before reconnecting them again, so they’re back where they were initially securely fastened together with ease.
Extra Tips:
- Repairing minor repairs is essential because it can mitigate further damage to your blinds. You may also want the help of kits like vane savers, which are easily accessible and pocket-friendly for on-the-go solutions that work well in preventing significant issues with certain systems.
- The sun is hot and harsh on your vertical blinds. It can cause a dust buildup, which might cause problems to the gear system and stem if you don’t clean them regularly- but even weekly cleaning will make sure that those blinds are in pristine condition. For the best result, you can consider vacuuming once monthly.
Frequently Asked Questions About Fixing Vertical Blinds
Question: Can You Repair Vertical Blinds?
Answer: Vertical blinds are not as challenging to repair as one might think. Most repairs involve replacing broken clips and strings, but they can be done without significant difficulty if you know what you’re doing.
Question: Why Are My Vertical Blinds Stuck?
Answer: For vertical blinds, first, make sure all of your slats are adequately aligned for them not to be stuck. Ensure that the ends are uniformly arranged and that nothing is tucked behind each other or in an awkward spot – if this happens, a quick rotation should solve it.
Question: How Do You Open Vertical Blinds in the Middle?
Answer: Imagine opening your blinds to reveal a modern yet simple design in the middle. The headrail cover on these vertical slats can be easily removed and replaced with another one to change their direction or even remove them from the window entirely; this way, you will have an open view without any obstruction whatsoever.
Question: Why Won’t My Vertical Blinds Close Properly?
Answer: Vertical blinds are a great way to add privacy and light control when in your home. Unfortunately, one of the most common issues is when they’re out of alignment, which causes them not to work correctly or open at all. To realign your vertical louvers (or chain), just pull for you’ll be able to close it again quickly without hassle; then go ahead and enjoy those sweet shadows on ceilings while reading.
Question: Where Should My Vertical Blinds Face?
Answer: Choose the direction of your blinds: up or down. If you want more privacy, tilt them towards the roof with their rounded side facing outward so passers-by can’t see into your room through any openings in carpeting where windows may be located below it; alternatively, close all slats but one which will make less space for viewing past this point and create an environment that is both private and lets neighbors know what’s happening inside without being too revealing.
Question: Which Way Do You Turn Vertical Blinds to Keep Heat Out?
Answer: You can reduce the amount of heat in your home by turning up or down blinds. Tilting them to one side will help you control light and conserve energy, so it’s best for minimal sun exposure during summertime when people are most active outside.
Conclusion
Having vertical blinds is a great way to keep your home cool in the summer and warm in the winter. But if they stop working, you’ll be left with unsightly window coverings that block out light or prevent people from seeing inside.
Not only will this make your house look unkempt, but it can also pose safety risks for anyone who may not be able to see through them when walking by at night.
Luckily, repairing vertical blinds isn’t tricky. All you need are some essential tools and enough time on your hands to complete these four easy steps – no professional installation required.